FIG. 09 — DOCUMENTED PROJECT
Living-room wall restoration.
One project, shown from the open wall through the finished surface and completed room—so you can judge the work from the evidence.
- Scope
- Wall rebuild + finish
- Evidence
- Three project photographs
- Result
- Completed living-room surface
PLATE 09.A — SEQUENCE
Open wall to finished room.
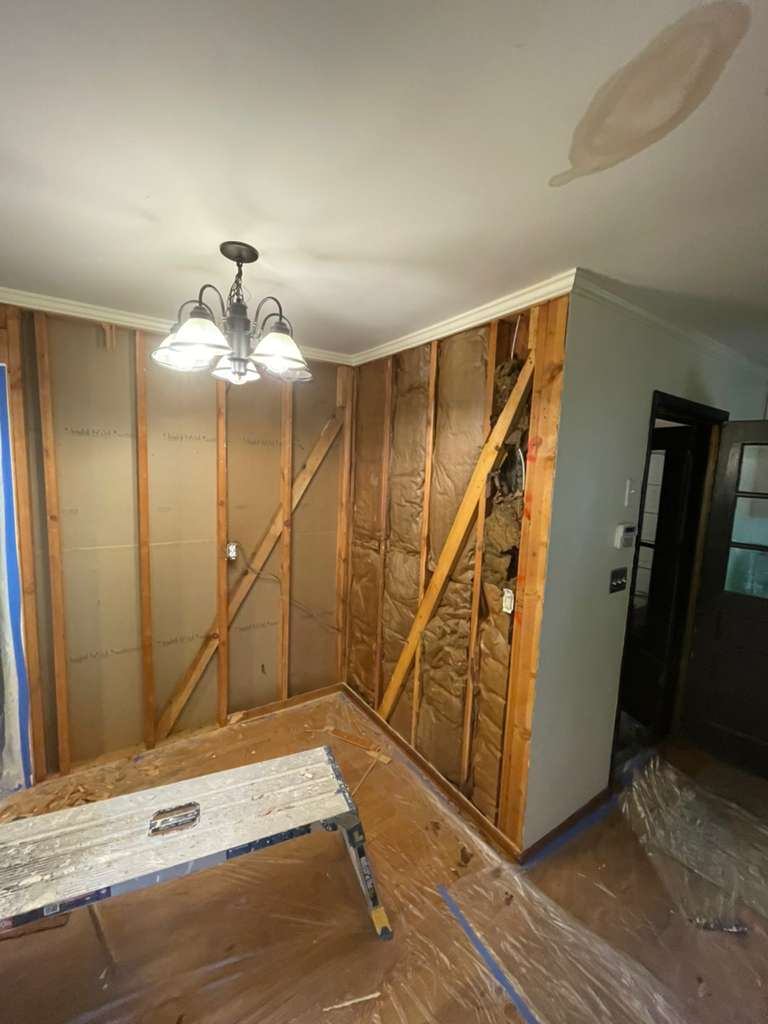 01 · Before
Open wall
The starting view documents the wall opened to the studs and ready for the surface to be rebuilt.
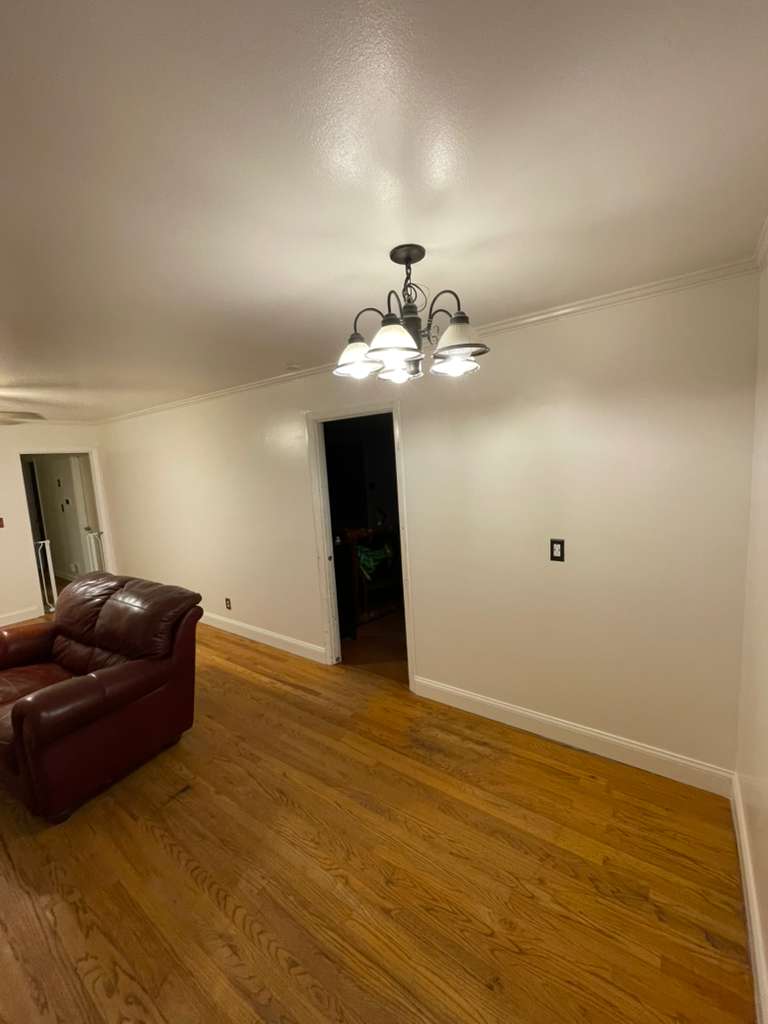 02 · Finish stage
Surface restored
The replacement surface is closed, finished and blended into the surrounding room.
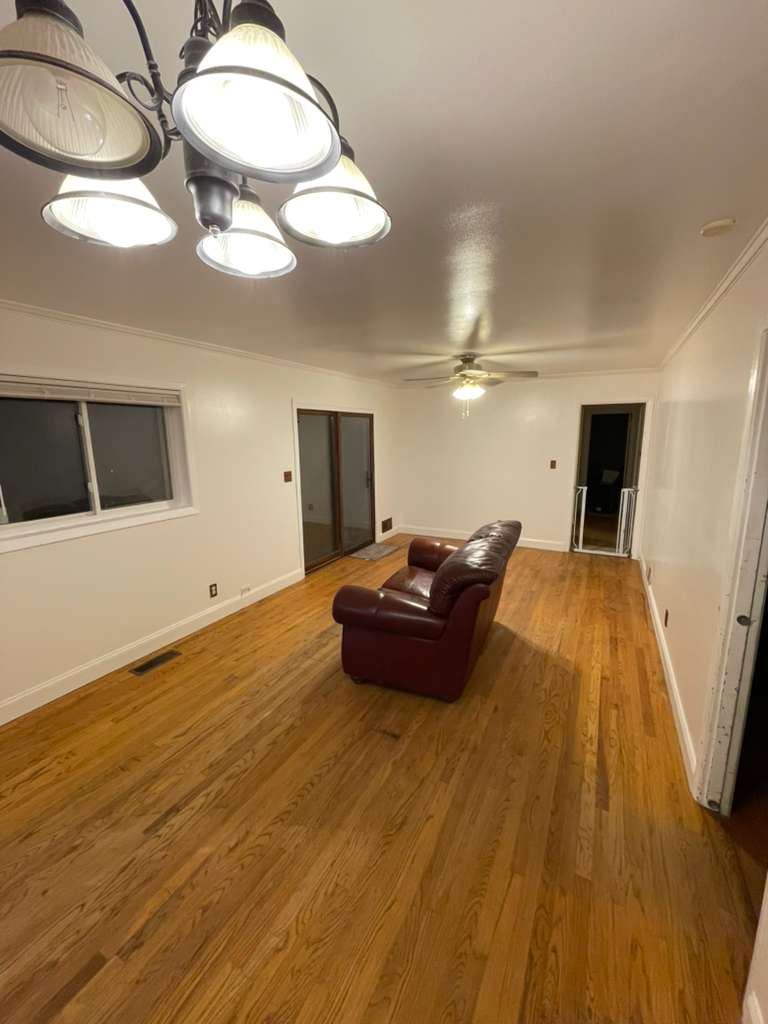 03 · Completed room
Finished room
The wider final view shows how the restored wall sits within the completed living space.
WHAT THE PHOTOS DOCUMENT
Proof before promises.
- The wall was open to the framing at the start.
- The replacement surface was finished back into the room.
- The completed view shows the final wall in normal room light.
OUR PROCESS ON WORK LIKE THIS
Rebuild the surface, then inspect the finish.
- 01Protect the room and inspect the exposed framing.
- 02Hang, tape, mud and feather the replacement surface.
- 03Sand, inspect under good light and prepare for paint.
START A PROJECT
Have a wall that needs the same treatment?
Send a few photos, your ZIP and a short description. We will reply with the next questions and a written quote.